Solaris/x86 10 03/05 on the old Toshiba Libretto 110 CT
As promised earlier, here’s the HowTo and some images of
Solaris/x86 10 03/05 running on my old Toshiba Libretto 110CT.
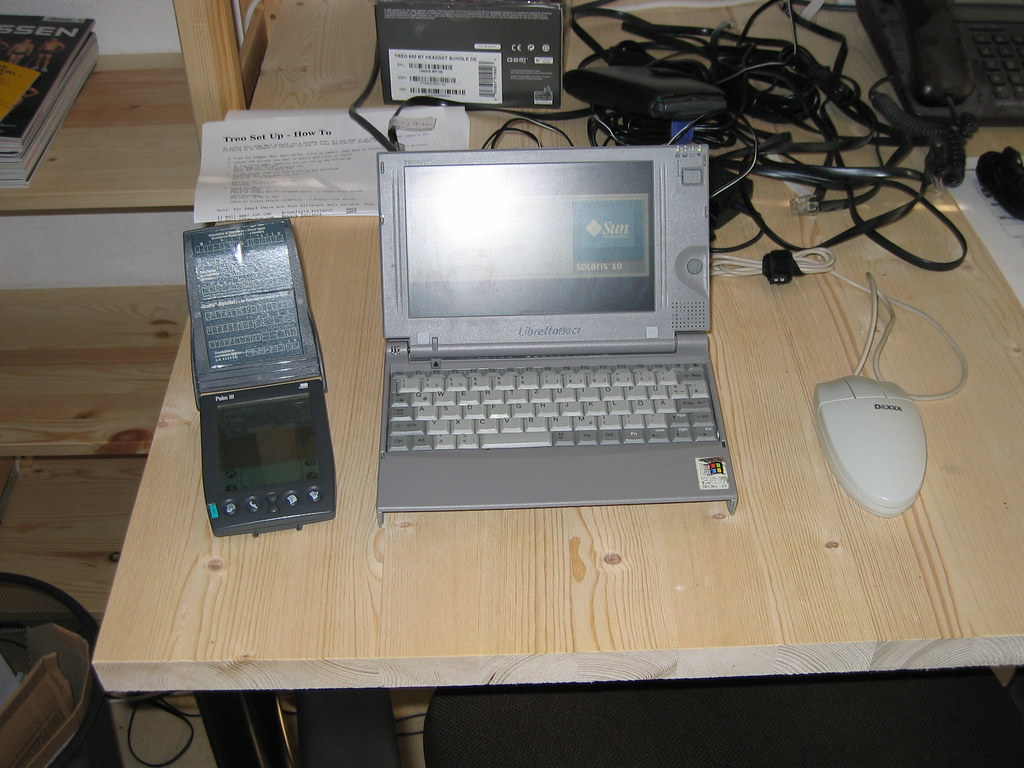
The first thing, you need to be aware of, is the small (and somewhat limited) hardware. It has only (and this is the max!) 64MB of main memory, it has a 233 MHz Pentium CPU. It does have a standard laptop harddisk (which I upgraded long ago to 19GB, to have more storage space, and to be able to run multiple OSes (8GB for Win2K, 5GB for Solaris and 5GB for Linux (which I never really used!)). It does NOT have buildin network, nor buildin modem. Instead it has 2 PCMCIA slots. Tt does have a serial and a parallel port. It does NOT have a floppy, nor a CD drive (these are connected via a proprietary PCMCIA connector). The internal screen is 800×480 pixels. It is connected to an NeoMagic graphics adapter. So, you can imagine, that it is a little bit tricky to get it to install and accept Solaris/x86 10 03/05.
With some ideas and tips from Casper Dik and his description of his installation on a small Lifebook I was ready to go.
I did, just as Casper proposed and so, I just made (OK, some small modifications were needed (and are still needed!), so do not take this literally!):
cd /cdrom/cdrom0/Solaris10/Tools
cp d1_image d1_image.pe3
lofiadm -a `pwd`/d1_image.pe3
mount -F pcfs /dev/lofi/X /mnt
cd /mnt
cd solaris/drivers/isa.125
cp …/pe3.bef .
cd ../../devicedb
cat ‘PNP8214 pe net all pe3.bef “Xircom Pocket Ethernet parallel port card”‘ >> master
cd
umount /mnt
lofiadm -d /dev/lofi/X
And then copy the image to the floppy (aka “dd if=d1_image.pe3 of=/vol/rdsk/noname”, or similar)
Then you need to create an installserver, because you need to add stuff to the Solaris 10:
cd /cdrom/cdrom0/Solaris10/Tools
./setup_install_server /path/to/your/place
When that is finished, do:
cd /path/to/your/place/Solaris_10/Tools/Boot/boot/solaris/drivers/isa.125
cp …/pe3.bef .
cd ../../devicedb
cat ‘PNP8214 pe net all pe3.bef “Xircom Pocket Ethernet parallel port card”‘ >> master
cd ../../../kernel/drv/
cp …/pe.conf .
cp …/pe .
chmod 644 pe.conf
chgrp sys pe.conf
chmod 755 pe
chgrp sys pe
cd ../misc
cp …/GLD .
chmod 755 GLD
chgrp sys GLD
Then do the
cat “XX:XX:XX:XX:XX:XX” >> /etc/ethers
cat “YYY.YYY.YYY.YYY HOSTNAME” >> /etc/hosts
./add_install_client -i YYY.YYY.YYY.YYY HOSTNAME i86pc
After that, boot from floppy… ;-)
That’s it! It really is that simple!
And be sure: Don’t reboot automatically, because you need to add some stuff before reboot!
Aka:
cd /cdrom/Solaris_10/Tools/Boot/kernel/drv
cp pe /a/kernel/drv
cp pe.conf /a/kernel/drv
cd ../misc
cp GLD /a/kernel/misc
cd ../../boot/solaris/devicedb
tail -1 master > muell
cat muell >> /a/boot/solaris/devicedb/master
rm muell
cd ..
cd drivers/isa.125
cp pe3.bef /a/boot/solaris/drivers/isa.125
cd /a/kernel/drv
chgrp sys pe
chgrp sys pe.conf
cd ../misc
chgrp sys GLD
cd ../../boot/solaris/drivers/isa.125
chgrp sys pe3.bef
chmod 644 pe3.bef
add_drv -b /a pe
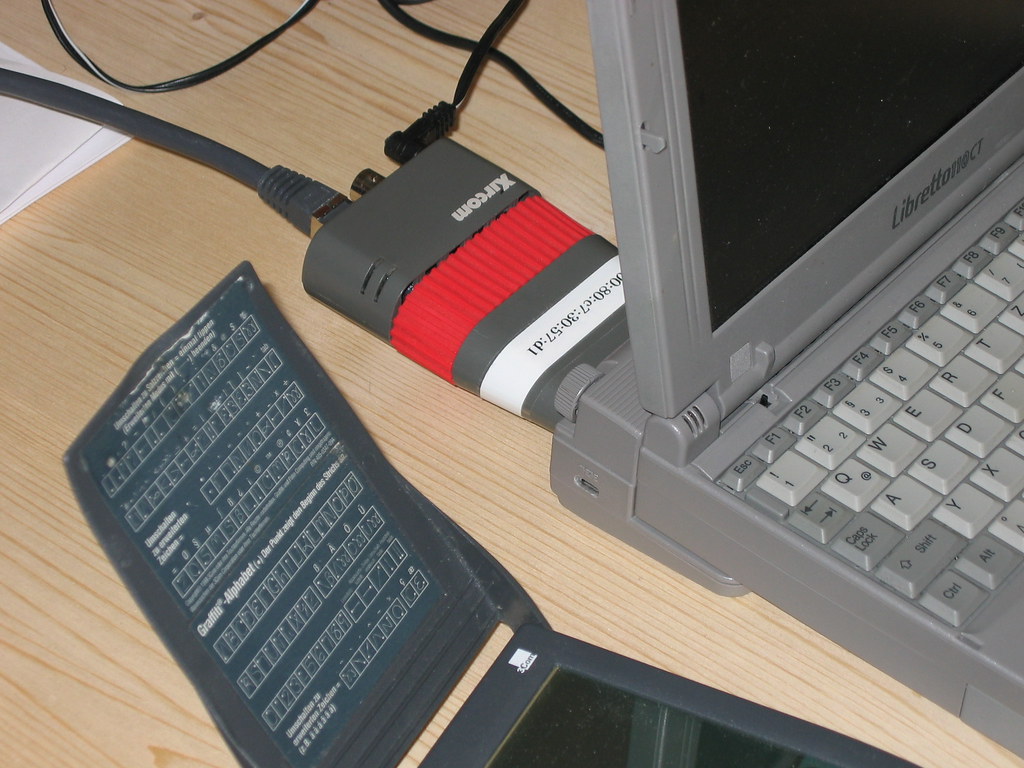
So, here’s an image of the PE3:
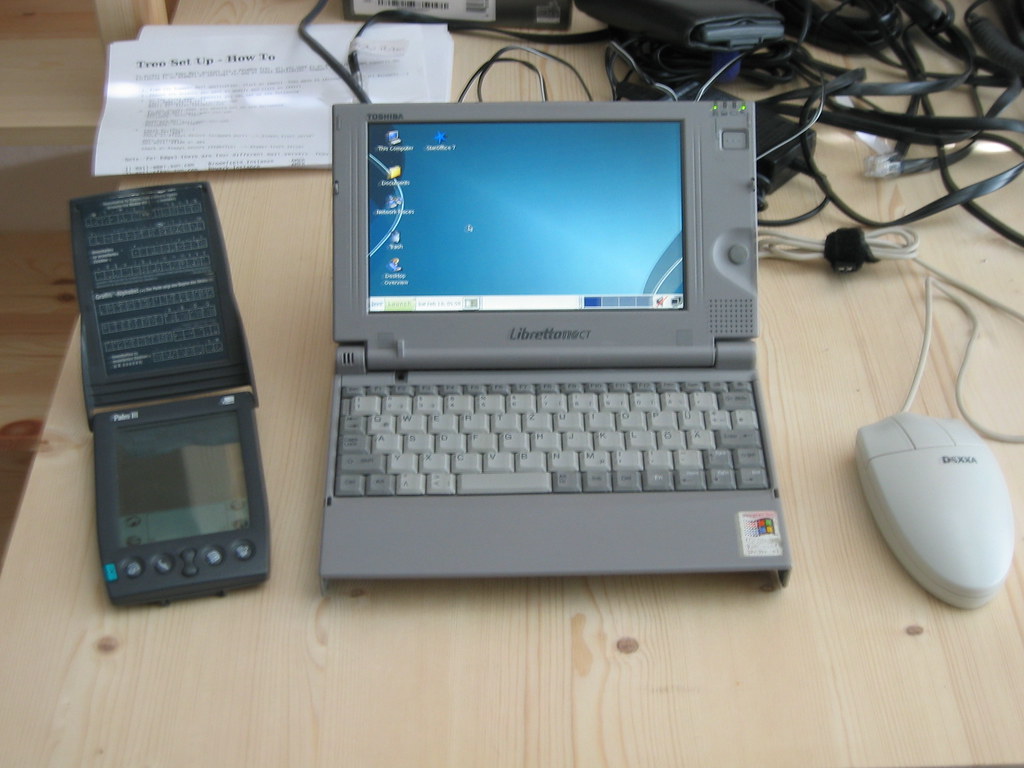
And here’s the session after the login:
And finally, here are the relevant files, in a tar.gz-file: pe-s10.tar.gz

